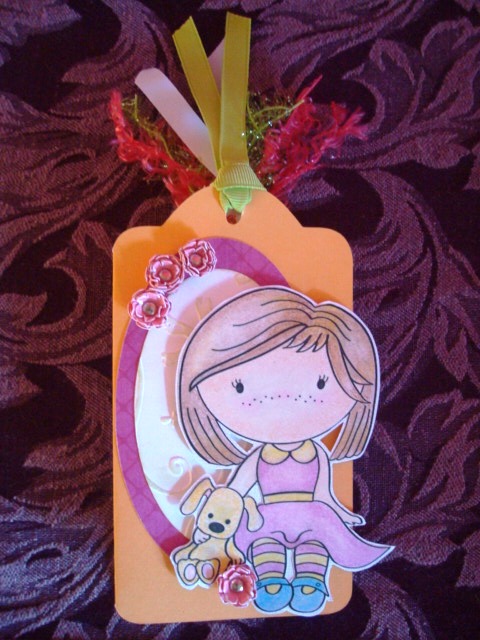
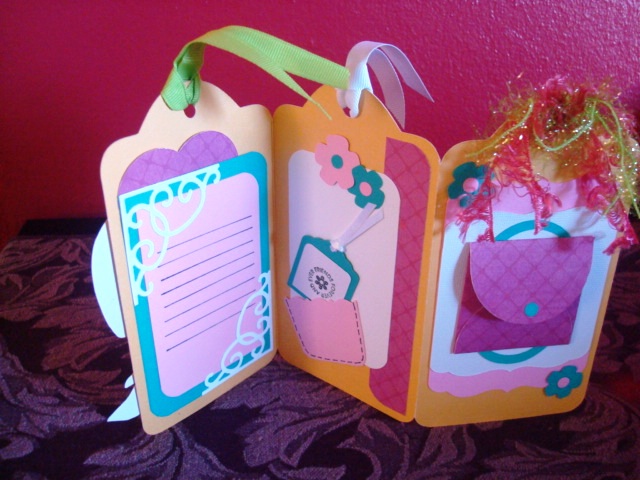
These tutorials will help you create an accordion card like the one featured on my previous blog post. - Cardstock
- Cricut
- Design Studio (DS)
- Cricut cartridge:
- Bone folder
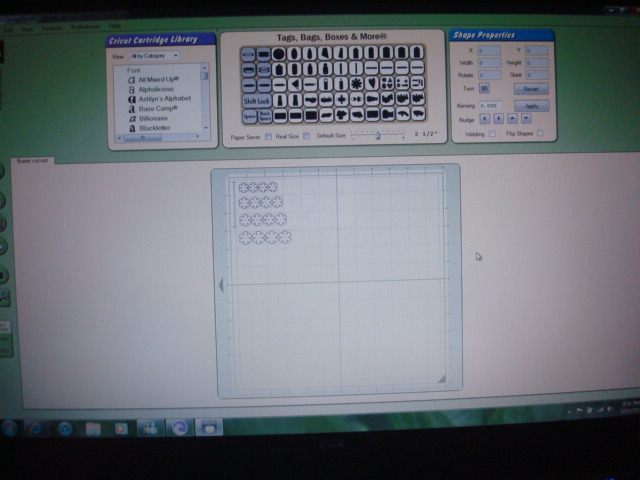
1. Cut the card using the DS file provided (
download).
If you don’t have DS, Circut or the cartridge don’t worry, I have a
template (follow the link, download and cut)
2. Score card with the bone folder where shown:
3. Fold the card (look at picture for reference). Use the bone folder for a crisp fold.
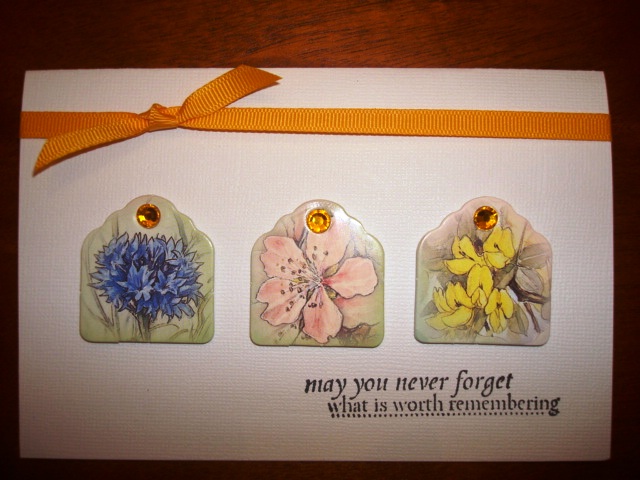
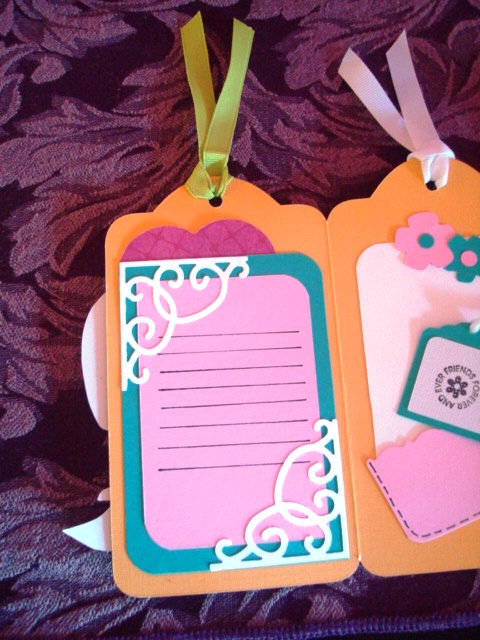
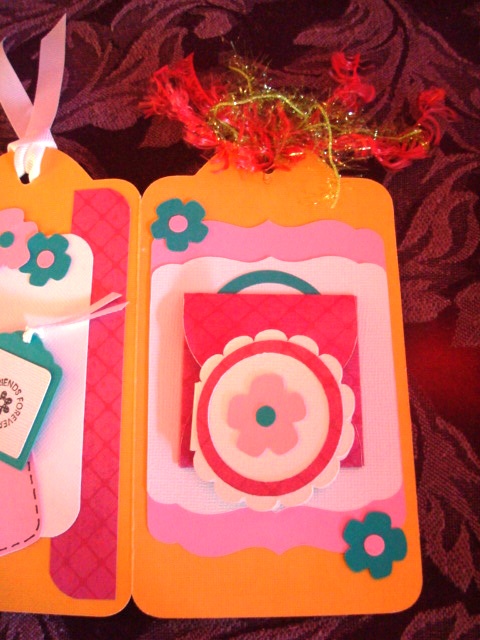
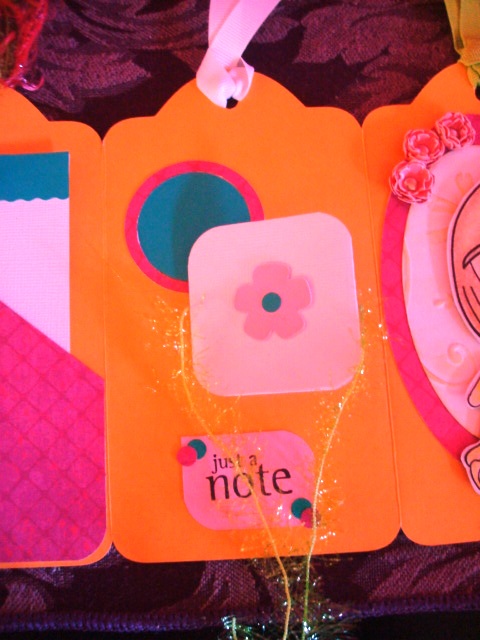
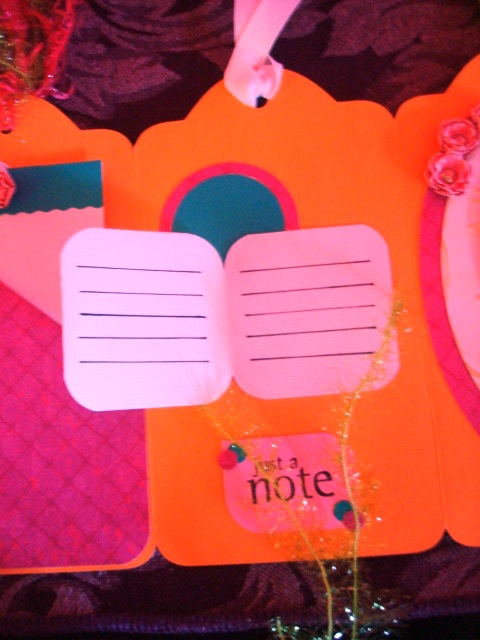
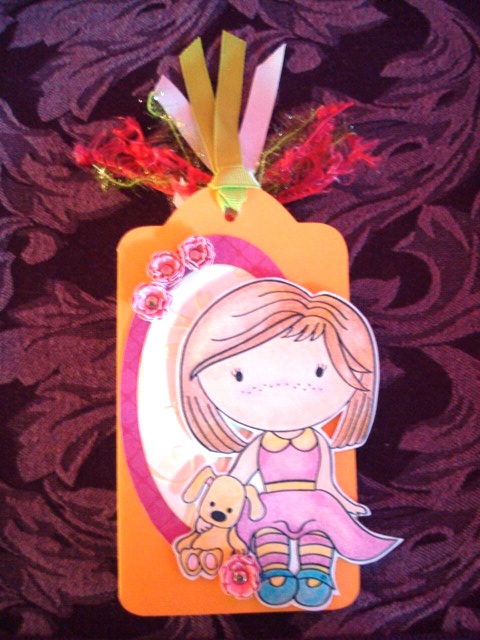
4. Decorate as desired, Have fun and be creative!
Miniature paper flowers
Materials:
- Cardstock with white core
- Mini brads
- Misting bottle
- Water
Procedure:
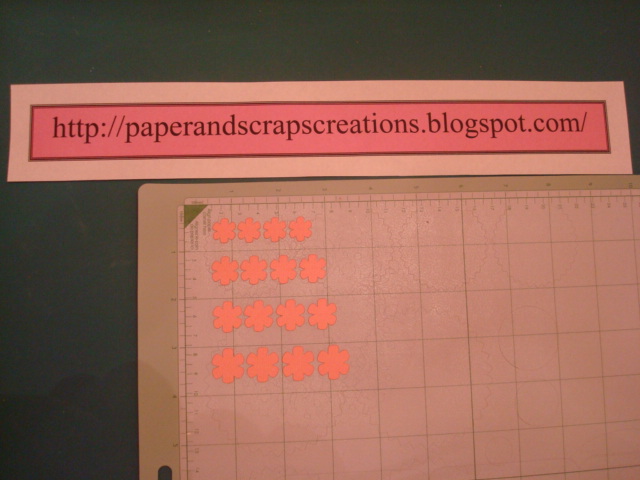
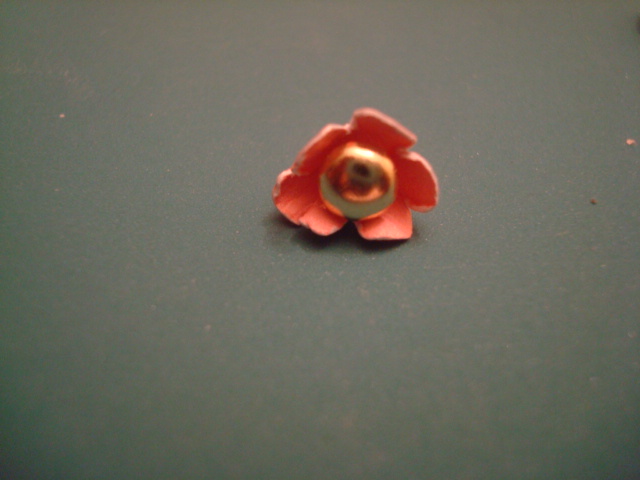
1. Cut four (4)
flower shapes, I used Cricut cartridge Plantin Schoolbook, but you could use any flower die cut you have.
2. If your flower cut out doesn’t have a perforation in the center make one, being careful not to make it to big.
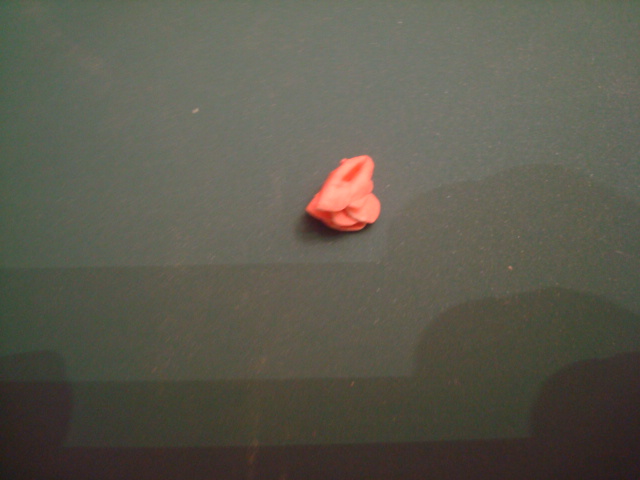
3. Place the flower shapes on a paper towel and spray lightly. Work one (1) at a time and don’t wet too much or they will break when you try to work with them.
4. Take the flower in your hands and squeeze it as tight as you can (see picture). This will give the shape to the petals and will bring out some of the white of the cardstock core.
5. Repeat the last step for all the flowers.
6. Allow to dry completely.
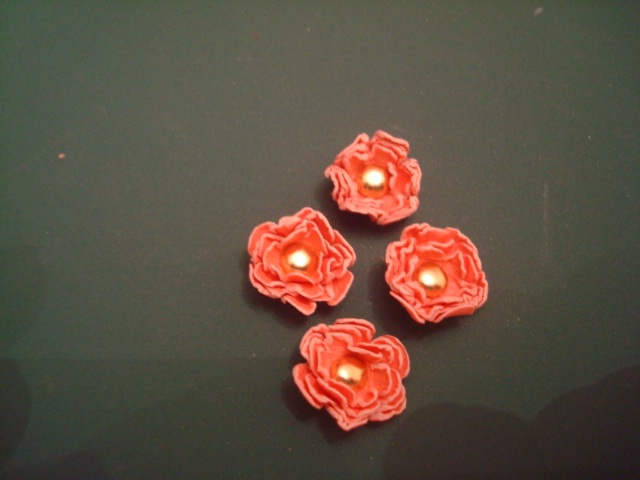
7. Open the flowers. Begin assembling the flower using the brad as the center and the smallest flower, follow all the way to the biggest.
8. Play with the petals until you reach the desired shape.
9. There you have it. Beautiful mini flowers for your projects.